Now go back to the Logic tab (make sure the slime is selected).
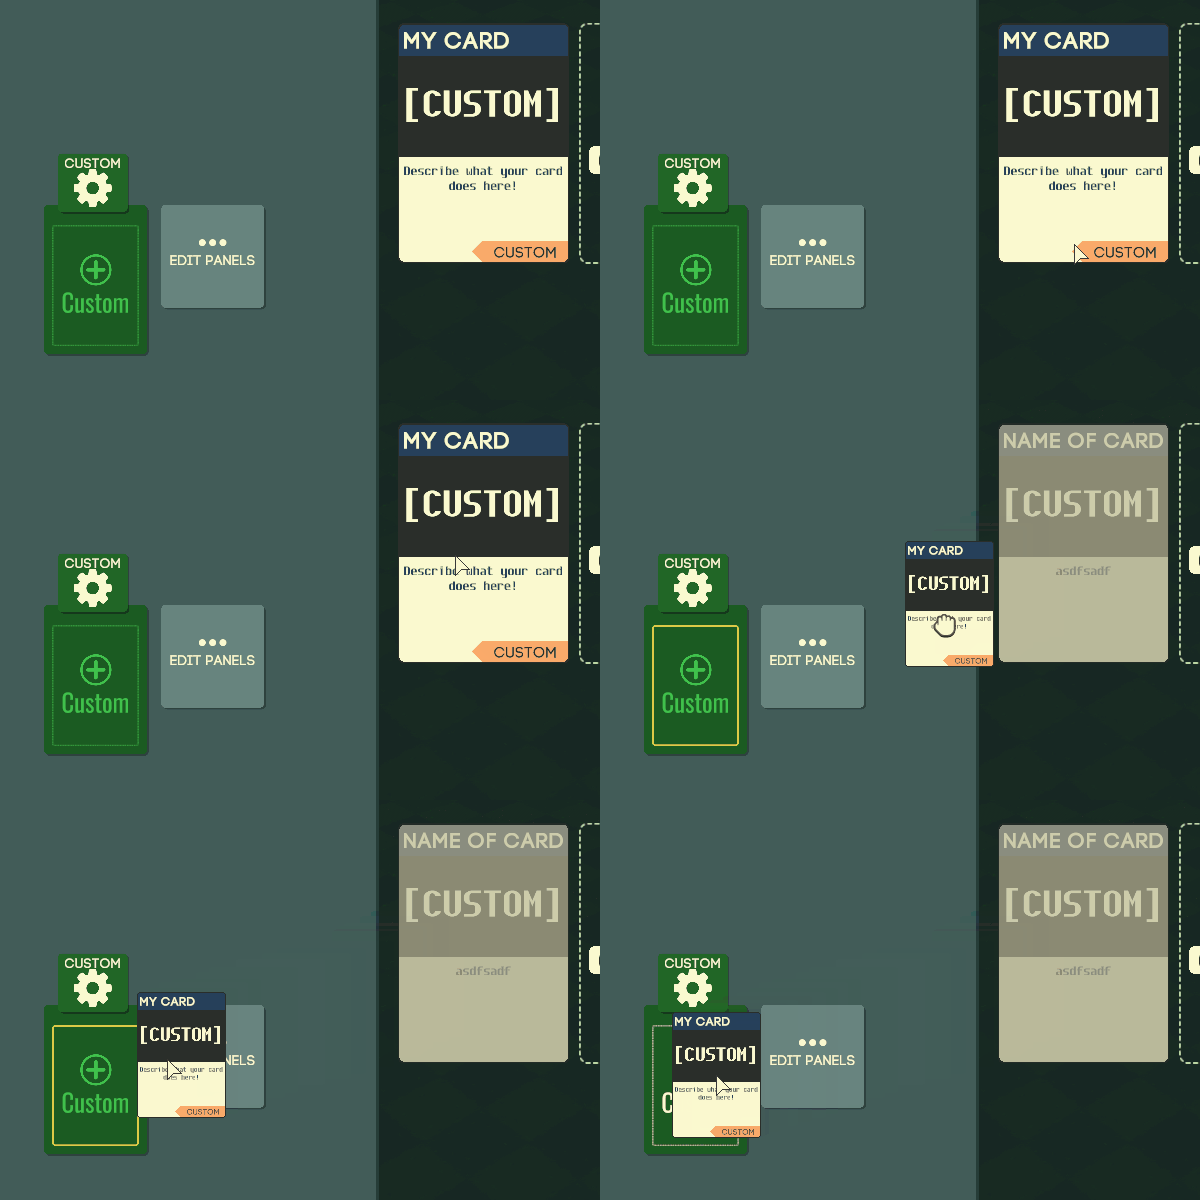
In the Custom panel, click the dotted rectangle to add a new block. Then drag your fancy new My Block block from the list into the slot:

Don’t let your hopes up too much yet, this example isn’t going to do anything, but it will show you an important feature.
When you drop the block, your slime is now printing “Tick…” to the console every time the onTick() function is called.
Where is this console, you ask? Just press the ~ key to view it. On a US keyboard, that’s the key at the top-left of the keyboard below the ESC key, normally just to the left of the 1 key. You should now see a little console appear at the top of the screen, filled with “Tick…” messages. Close it by pressing ~ again.
You now know how to print logs. It may not sound exciting, but it will be useful later when you’re debugging something and need to print stuff out!
Ok, now let’s change that code to do something more interesting than printing a log. Ready? Replace it with this:
  export function onTick() {
    spin(2);
  }
Now click the Run button above the coding area in order to apply your changes to your slime.
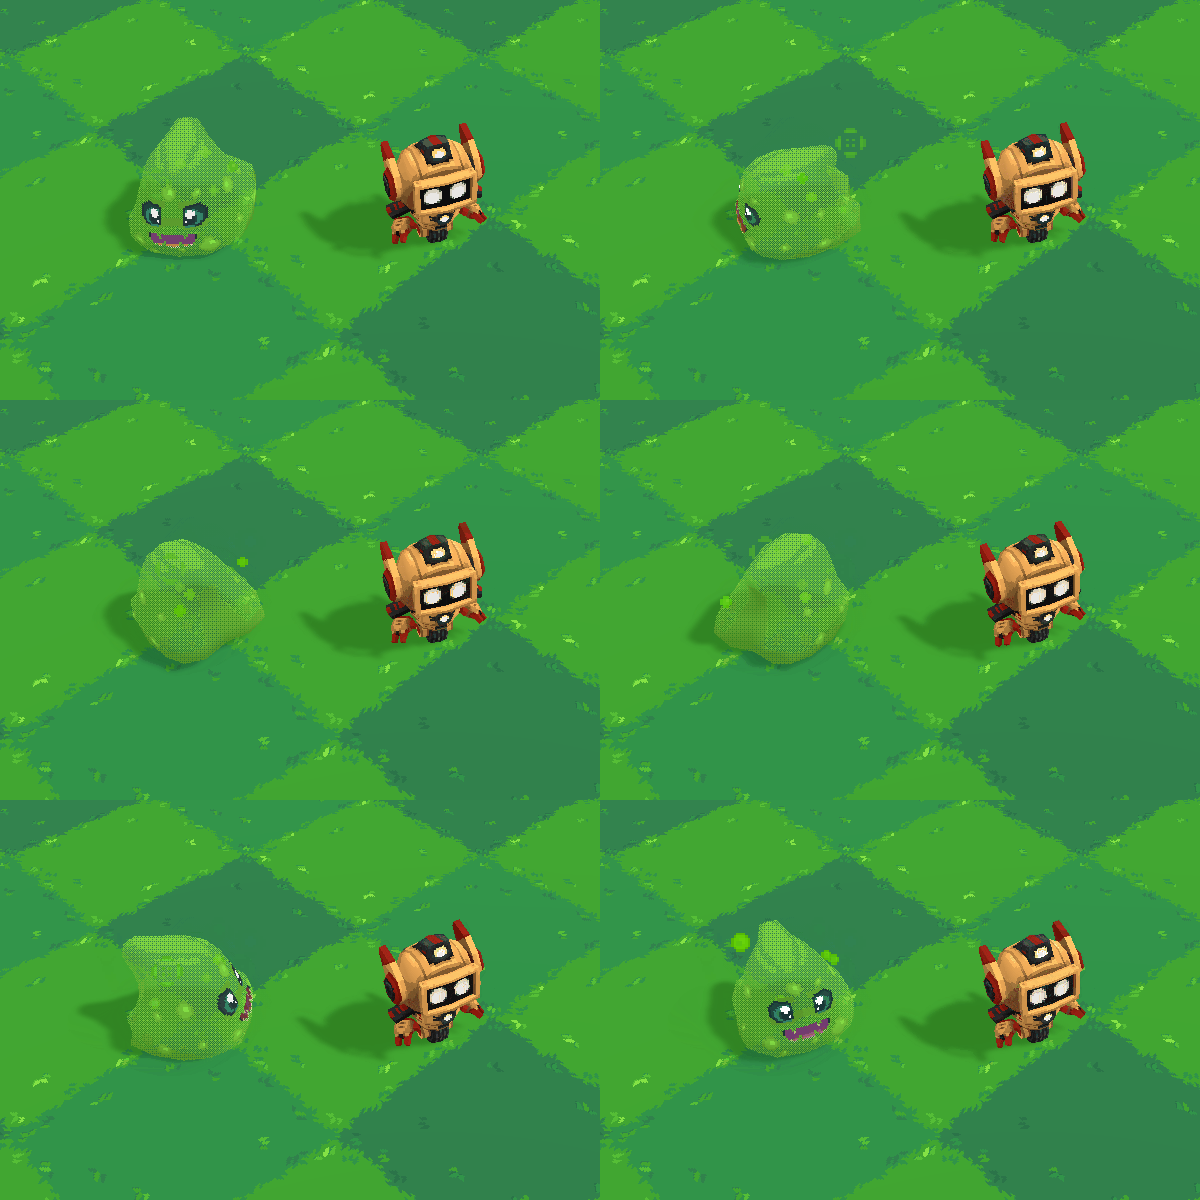
What do you get? Yes, a spinning slime:

How does this happen? We are calling the spin API function, which spins an actor with the given rotational speed. In this case we set it to 2 radians/second. Prefer to use degrees/second? No worries, just use the handy degToRad function.
  export function onTick() {
    // Spin at 45 degrees/second.
    spin(degToRad(45));
  }
Ok, enough spinning for now. Let’s talk about moving around. This slime is going places.